Pimp My Ride Car Tutorial - Part 5
Select the the Pen Tool (P) again and draw a shape like flame or wings or any other shape of your choice. Paint the front of the car with a different color which color is #ff0000 in this case.

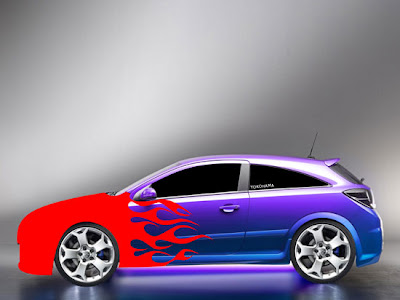
Change the Blending Mode option from Normal to Hue for this layer.
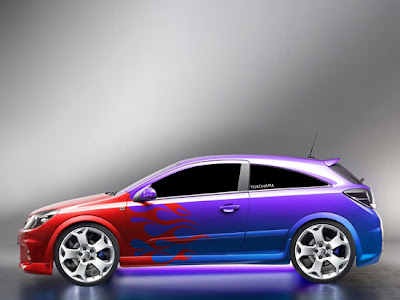
Now paint the plates on the wings and on the doors, the mirrors and the back portion this color #7b7b7b as shown below.
Change the Blending Mode option from Normal to Hue for this layer.
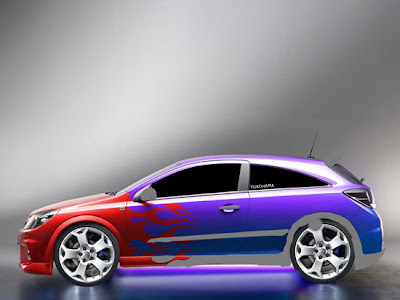
Now paint the plates on the wings and on the doors, the mirrors and the back portion this color #7b7b7b as shown below.
Labels: Photoshop car Tutorials
posted by Unknown at
8:31 AM
![]()
0 Comments:
Post a Comment
Subscribe to Post Comments [Atom]
<< Home