Pimp My Ride Car Tutorial - Part 4
Select the brush again with blurred edges and the color #a186be and paint the car's upper body as shown below.
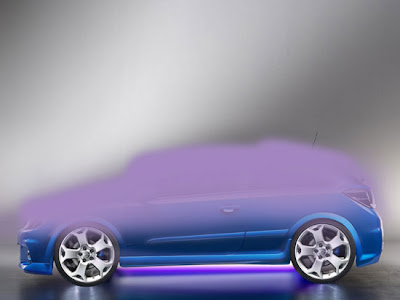
Change the layer blending mode from normal to Hue.

Now write the text on the window and follow the parameters as illustrated in the image below.

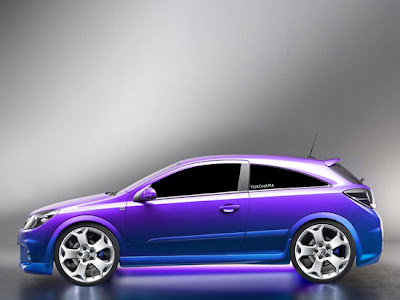
Now image should look like the following
Change the layer blending mode from normal to Hue.
Now write the text on the window and follow the parameters as illustrated in the image below.
Now image should look like the following
Labels: Photoshop car Tutorials
posted by Unknown at
8:05 AM
![]()
0 Comments:
Post a Comment
Subscribe to Post Comments [Atom]
<< Home