Pimp My Ride Car Tutorial - Part 3
Select the Tyre as we did with bumpers.
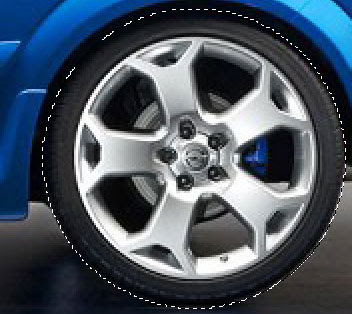
Click CTRL+J to make a new copy from this selection. Apply Free Transform option to enlarge the size of the wheel.
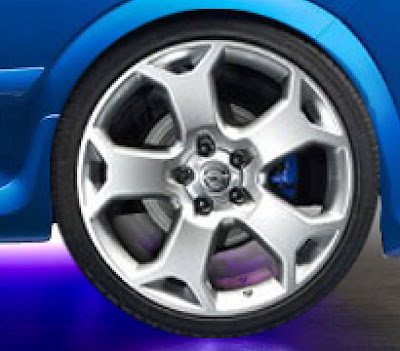
Do the same for the other wheel as well.
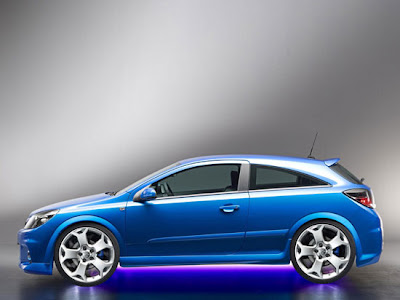
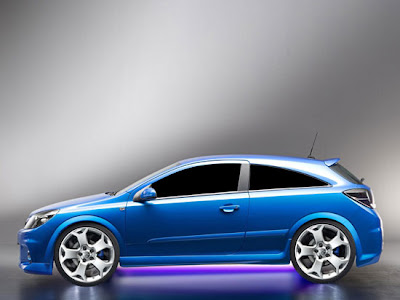
Now make a new blank layer. Take a brush with blurred edges and with grey color and apply it on the neon's place on the car. Everything that is unnecessary we should erase. Bring down the Fill to 59% on this layer.
Paint in black color the windows and the back lamps.
Click CTRL+J to make a new copy from this selection. Apply Free Transform option to enlarge the size of the wheel.
Do the same for the other wheel as well.
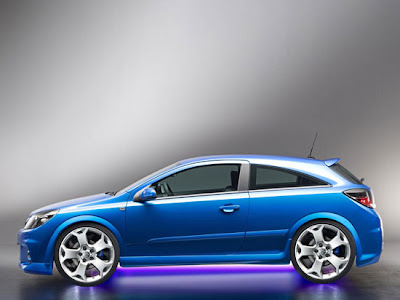
Now make a new blank layer. Take a brush with blurred edges and with grey color and apply it on the neon's place on the car. Everything that is unnecessary we should erase. Bring down the Fill to 59% on this layer.
Paint in black color the windows and the back lamps.
Labels: Photoshop car Tutorials
posted by Unknown at
7:31 AM
![]()
0 Comments:
Post a Comment
Subscribe to Post Comments [Atom]
<< Home