Pimp My Ride Car Tutorial - Part 2
Press CTRL+J or Layer > New > Layer via Copy and make a copy of this selection. Press CTRL+J one more time to make another copy of this layer apply Free Transform Tool (CRTL+T) to enlarge the picture up to the bottom. After that, don't forget to erase the extra parts.
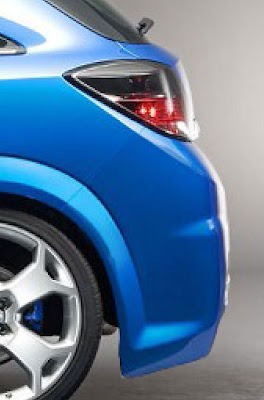
Now select as shown in the image below using the Pen Tool (P).
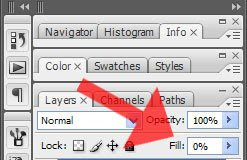
Drag the Fill to 0% on the layer as shown in the image below.
Now go to Layer > Layer Style > Gradient Overlay
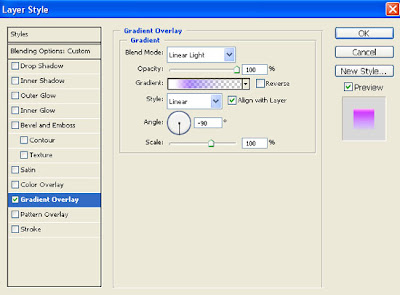
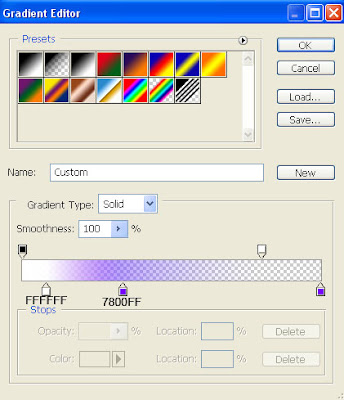
Follow these gradient parameters:

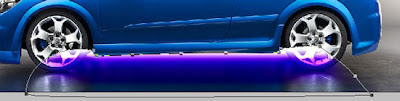
Now select as shown in the image below using the Pen Tool (P).

Drag the Fill to 0% on the layer as shown in the image below.

Now go to Layer > Layer Style > Gradient Overlay

Follow these gradient parameters:

Labels: Photoshop car Tutorials
posted by Unknown at
7:10 AM
![]()
0 Comments:
Post a Comment
Subscribe to Post Comments [Atom]
<< Home